
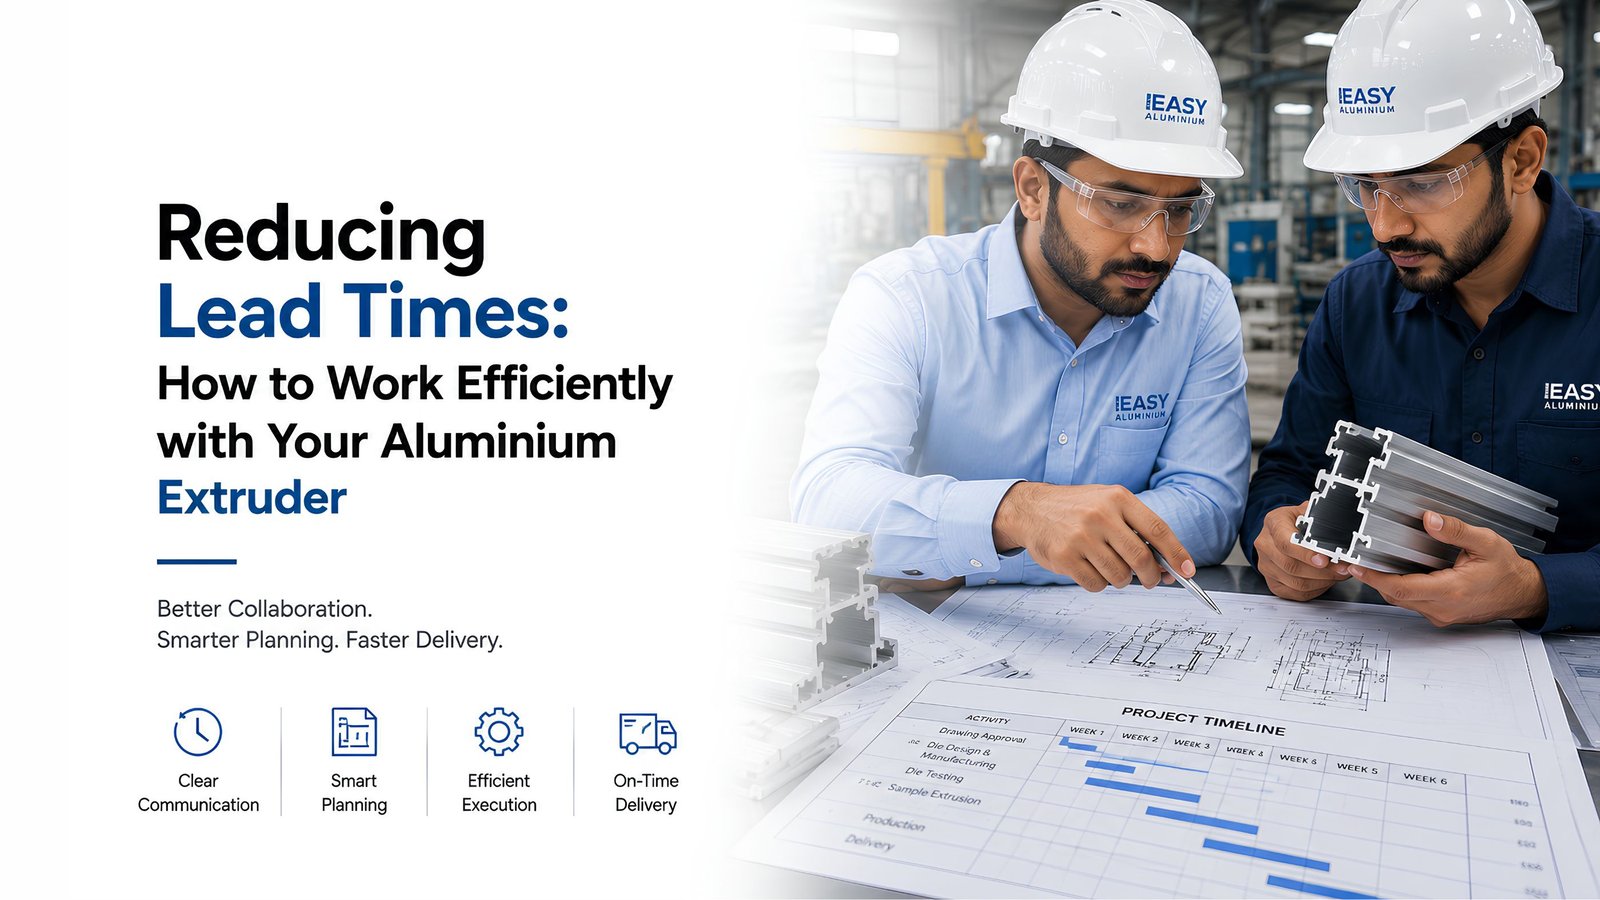
"The extruder is taking too long." It's a common complaint — and almost always aimed at the wrong stage. The real lesson for buyers is this:
Buyers can often cut total lead time substantially — not by pushing the extruder to "work faster," but by improving the RFQ package, optimising the profile for extrudability, choosing the right extruder for the job, freezing specifications early, approving tooling quickly, and planning secondary operations in parallel rather than in sequence. This guide lays out exactly how.
1. What Actually Makes Up Extrusion Lead Time?
A custom aluminium extrusion order typically runs through:
RFQ → Technical review → Drawing approval → Die design → Die manufacturing → Die trial → Die correction → Billet/material planning → Production → Heat treatment → Cutting → Surface finishing → Inspection → Packing → Dispatch
For procurement teams, the real target should be: reduce waiting, clarification, rework and correction time — not just "extrusion time."
2. The Biggest Lead-Time Killers
Before jumping to fixes, it helps to know where delays typically originate:
| Incomplete RFQ information | Unrealistic tolerances |
| Unclear drawing dimensions | Frequent drawing revisions |
| No specified alloy or temper | Complex profile geometry |
| Poor wall-thickness distribution | Difficult hollow-section design |
| New die development | Die correction after trial |
| Alloy/billet unavailability | Limited press availability |
| Surface-treatment capacity queue | Secondary machining requirements |
| Late approval of samples | Quantity changes after PO |
| Poor buyer-extruder communication | Waiting on document/inspection approval |
| Packaging defined too late | Transport planning started too late |
The lesson for buyers: a cheaper die that needs several correction cycles can end up costing far more project time than a better-engineered die that costs more upfront.

Step 1 — Prepare a Complete RFQ Package
The fastest extruder in the country is still slow if the buyer sends: "Need 6063 aluminium profile, 6 metres, please quote." That's nowhere near enough for a serious custom project. A professional RFQ should include:
Profile: 2D drawing, 3D CAD file if available, profile number/revision, solid/hollow classification, overall dimensions, wall thickness, critical dimensions.
Material: alloy, temper, applicable standard — e.g. "EN AW-6063 / T6" or "6061-T6 per ASTM B221."
Quantity: prototype quantity, initial order quantity, monthly and annual requirement, forecast.
Length: random or fixed length, cut tolerance.
Surface finish: mill finish, anodizing, powder coating, bright anodizing, mechanical polishing, or other specified finish.
Inspection/documentation: dimensional inspection, mechanical test report, chemical composition, certificate of conformity, EN/ASTM compliance, surface-finish inspection, PPAP/FAI where required.
Step 2 — Don't Over-Specify the Profile
One of the most common procurement mistakes: specifying that every dimension must be, say, ±0.05 mm — when the actual application doesn't need anything close to that. Tight tolerances increase manufacturing difficulty and often demand extra process control or secondary machining, all of which adds time and cost without adding value the application actually uses.
The better approach is separating dimensions into two groups:
| Critical functional dimensions | Non-critical dimensions |
|---|---|
| Affect assembly, sealing, sliding, interlocking, bearing surfaces, downstream machining, or structural performance | Can generally follow the applicable standard tolerance unless the application specifically requires tighter control |
Step 3 — Design the Profile With Extrusion in Mind
A profile can be theoretically manufacturable and still be genuinely difficult to extrude efficiently. Review these before releasing the drawing:
- Wall thickness and wall-thickness uniformity
- Deep pockets and narrow tongues
- Sharp internal corners
- Hollow geometry complexity
- Tongue-to-gap relationships
- Overall symmetry
- Circumscribing circle (CCD) size
- Required surface quality
- Critical tolerances
For a deeper technical breakdown of these specific design rules, see our guide on custom vs standard aluminium extrusion profiles.
Step 4 — Get the Extruder Involved Before Finalising the Design
Don't wait until the drawing is completely frozen to talk to your extruder. Instead: concept → extruder design review → modification → final drawing → die design.
A design review often surfaces small changes with a big payoff. Your original design might specify a 1.5 mm wall, an 8 mm deep narrow channel, and noticeably asymmetric geometry. The extruder's die designer might suggest a 1.8 mm wall, a slightly wider channel, and improved symmetry — the profile performs exactly the same function, but becomes significantly easier to manufacture reliably.
Step 5 — Select an Extruder Based on Capability, Not Just Price
The cheapest quote is not necessarily the fastest supplier. Evaluate:
| Category | What to check |
|---|---|
| Press capability | Tonnage, container size, billet diameter, max profile size/length |
| Tooling capability | Solid/hollow/multi-cavity dies, die design capability, correction capability, FEA/simulation use |
| Material capability | Required alloy and temper, billet availability |
| Finishing capability | Anodizing, powder coating, polishing, brushing |
| Fabrication | Cutting, CNC machining, drilling, punching, bending, welding, assembly |
| Quality | Dimensional inspection, mechanical testing, chemical analysis, traceability |
Step 6 — Ask for a Realistic Lead-Time Breakdown
Don't just ask "what's your lead time?" Ask for it stage by stage:
| Stage | Supplier response (days) |
|---|---|
| Technical review | ___ |
| Die design | ___ |
| Die manufacturing | ___ |
| Die trial | ___ |
| Die correction | ___ |
| Production | ___ |
| Heat treatment | ___ |
| Cutting | ___ |
| Surface treatment | ___ |
| Inspection | ___ |
| Packing | ___ |
| Dispatch | ___ |
This alone makes the supply chain transparent. And don't assume one universal lead-time figure exists — it genuinely varies by profile complexity, tooling, alloy, quantity, finishing, and supplier capacity.
Step 7 — Freeze the Drawing Early
Probably the single easiest lead-time reduction available. A common — and costly — project cycle looks like: drawing → RFQ → quotation → PO → die design → buyer changes the drawing → die redesign → die manufacturing → trial → buyer changes the drawing again. Every major revision disrupts tooling progress.
Set up drawing revision control from day one — e.g. EA-AL-001 Rev A, then Rev B, Rev C — and make sure the PO explicitly states which revision is approved for manufacturing.
Step 8 — Make the Die Approval Process Fast
For a new custom profile, die development can easily become the critical path. Establish upfront who approves the die design, who approves the first trial, and how quickly feedback will be given. A workable structure:
Supplier sends die drawing → buyer reviews within 24–48 hours → comments consolidated → supplier releases final die.
Step 9 — Avoid Unnecessary Die Correction Cycles
This is where technical engineering directly determines procurement lead time. Die design controls how aluminium flows through the die — bearing length in particular influences local flow resistance, and effective die design aims to make different areas of the profile emerge at compatible speeds (see our detailed explanation of why bearing length controls metal flow). If the die produces uneven dimensions, bow, twist, uneven wall thickness, poor surface quality, or excessive dimensional deviation, it needs correction — sometimes more than once.
Ask your extruder directly: "Do you use extrusion simulation for complex profiles?" For difficult hollow or asymmetric geometry, FEA-based die design can meaningfully reduce trial-and-error correction cycles — documented case studies have shown measurable lead-time improvement from this approach on complex dies.
Step 10 — Plan Material Availability Before the PO
Don't assume "the extruder has aluminium, so they can start immediately." Check: alloy availability, billet availability and diameter, required temper, any special alloy requirements, recycled/low-carbon material requirements if relevant, minimum production quantity, and existing billet inventory. Common high-volume alloys are usually easy; less common alloys or special material specs may need real advance planning.
Step 11 — Coordinate Extrusion and Finishing Capacity
A frequently missed bottleneck: extrusion finishes in 3 days, but the part then sits waiting 7 days for an anodizing slot. From the supplier's perspective, "material is ready" — but from your perspective, the order isn't usable yet. Always ask for end-to-end lead time, not just extrusion lead time:
| Extrusion | 3 days |
| Ageing | 1 day |
| Cutting | 1 day |
| Anodizing queue | 5 days |
| Anodizing | 2 days |
| Inspection | 1 day |
| Packing | 1 day |
| Transport | 2 days |
| Total | 16 days |
In this example, the real bottleneck isn't extrusion at all — it's the anodizing queue. You'd never know that from asking only "what's your extrusion lead time?"
Step 12 — Define the Surface Finish Correctly, Early
Mill finish is generally the simplest route with the fewest downstream dependencies. Anodizing makes surface appearance far more sensitive to alloy, extrusion surface quality, die condition, process conditions, handling, and finishing parameters — the interactions covered in our guide to die lines and surface acceptance. Powder coating requires its own coordination across extrusion, pretreatment, coating, colour matching, curing, and inspection. If your application needs a premium visual finish, communicate that before die design — not after the first extrusion batch comes back with a surface issue nobody flagged upfront.
Step 13 — Approve First-Off Samples Quickly
For a new profile, first-off sample approval can become its own major bottleneck. A tight system looks like:
Day 1: supplier sends first-off samples. Day 2: buyer performs dimensional inspection. Day 2–3: engineering gives consolidated feedback. Day 3: supplier implements the agreed correction.
The worst-case version — sample arrives, buyer sits on it for two weeks, feedback goes out, supplier corrects, a new sample arrives, another two-week wait — can double a project's timeline without a single thing going wrong at the extrusion plant itself. Set an internal SLA: sample inspection within 48 hours, technical approval within 48 hours. That alone removes days from the project without changing anything on the supplier's side.
Step 14 — Don't Change Quantity After Production Planning
Quantity changes ripple through billet planning, press scheduling, production sequencing, surface-treatment planning, packing, and logistics — all at once. A professional PO should clearly specify required quantity, delivery schedule, call-off schedule, tolerance on quantity, packaging requirements, and delivery location, locked in before production starts.
Step 15 — Use Blanket Orders for Repetitive Profiles
If you buy the same extrusion every month, don't treat every shipment as a brand-new project. Consider an annual forecast plus a blanket PO with scheduled releases:
| Month | Quantity |
|---|---|
| January | 5 MT |
| February | 5 MT |
| March | 7 MT |
| April | 6 MT |
This lets the supplier plan billet, press capacity, dies, finishing capacity, labour, and logistics well ahead — particularly valuable for stable, repetitive profiles.
Step 16 — Keep the Communication Channel Simple
Communication overhead is one of the most underrated causes of delay. If every clarification has to travel through buyer → purchasing → supplier sales → supplier technical → die designer → production → quality, days disappear into translation and follow-up alone. Establish one procurement contact and one engineering contact on the buyer side, and one commercial contact plus one technical contact on the supplier side — then track everything through a simple shared tracker rather than scattered emails.
The Aluminium Extrusion Lead-Time Tracker
Turn "where is my order?" into something measurable:
| Activity | Owner | Planned | Actual | Status |
|---|---|---|---|---|
| RFQ issued | Buyer | |||
| Technical review | Supplier | |||
| Quotation | Supplier | |||
| Drawing approved | Buyer | |||
| Die design | Supplier | |||
| Die manufacturing | Supplier | |||
| Die trial | Supplier | |||
| Sample inspection | Buyer | |||
| Die correction | Supplier | |||
| Production | Supplier | |||
| Heat treatment | Supplier | |||
| Cutting | Supplier | |||
| Surface finishing | Supplier | |||
| Final inspection | Supplier | |||
| Packing | Supplier | |||
| Dispatch | Logistics |
A Useful Formula for Buyers
Total Lead Time = Technical Approval + Tooling + Trial/Correction + Production + Finishing + Inspection + Logistics
But with one important qualification: some of these activities can run in parallel. Die manufacturing, for instance, can proceed at the same time as material planning, packaging planning, and finishing-slot reservation.
Aluminium Extrusion RFQ Checklist
Prepare all of this before requesting a quotation:
| Profile | |
| ☐ | 2D drawing |
| ☐ | 3D CAD model |
| ☐ | Profile revision, overall dimensions, wall thickness, critical dimensions |
| Material | |
| ☐ | Alloy, temper, applicable standard, mechanical-property requirements |
| Quantity | |
| ☐ | Prototype, initial order, annual requirement, forecast |
| Length | |
| ☐ | Extrusion length, fixed/random, cut tolerance |
| Finish | |
| ☐ | Mill finish / anodizing / powder coating / other, colour requirement |
| Quality | |
| ☐ | Dimensional tolerance, straightness, twist, surface quality, inspection requirements, test certificates |
| Commercial | |
| ☐ | Delivery location, required date, packaging, Incoterms, payment terms |
| Tooling | |
| ☐ | New or existing die, die ownership, die cost, maintenance/replacement responsibility |
A Practical Supplier-Selection Scorecard
Instead of selecting purely by ₹/kg, score prospective suppliers:
| Parameter | Example weight |
|---|---|
| Technical capability | 20% |
| Lead-time performance | 20% |
| Quality performance | 20% |
| Price | 15% |
| Tooling capability | 10% |
| Finishing capability | 5% |
| Communication | 5% |
| Logistics | 5% |
This is an example weighting to adapt to your own priorities, not an industry-standard formula.
10 Rules for Faster Aluminium Extrusion Procurement
2. Clearly specify alloy and temper.
3. Separate critical and non-critical dimensions.
4. Involve the extruder during profile design.
5. Freeze the drawing before die manufacturing begins.
6. Ask for stage-wise lead time, not just one number.
7. Ask whether complex profiles need simulation-based die design.
8. Approve samples quickly, with an internal SLA.
9. Plan extrusion, finishing and logistics together, not in sequence.
10. Track the order using milestones, not guesswork.
The Biggest Takeaway for Buyers
A well-prepared drawing reduces clarification back-and-forth. A manufacturable profile reduces tooling problems before they start. Correct, right-sized tolerances reduce unnecessary correction cycles. Early technical involvement improves die design the first time around. Fast sample approval removes dead waiting time. Parallel planning removes idle time between dependent and independent activities. A genuinely capable extruder reduces production risk across the board. And proper milestone tracking exposes the real bottleneck — which, as the finishing-queue example above shows, often isn't where you assumed it was.
None of these levers require the extruder to move faster. They require the buyer to remove the ambiguity, delay, and rework that consume weeks before the press ever starts.
References & Further Reading
- Aluminum Extruders Council — Design Resources (aec.org)
- Aluminum Extruders Council — Dies & Tooling (aec.org)
- Aluminum Extruders Council — technical case study on FEA-based die design optimisation and its effect on product lead time
- ASTM B221/B221M — Standard Specification for Aluminum and Aluminum-Alloy Extruded Bars, Rods, Wire, Profiles, and Tubes
- EN 755-9 — Aluminium and aluminium alloys, extruded rod/bar, tube and profiles — Tolerances on dimensions and form
- Hydro Extrusions — Custom-made dies, technical resources on profile complexity and die correction